photoshop教程:快速制作光影人物特效
來源:未知
作者:空來風
學習:11942人次
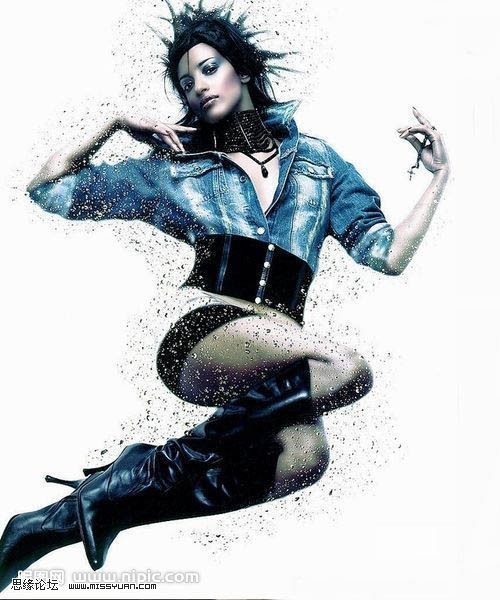
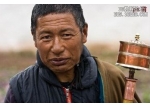
原圖:
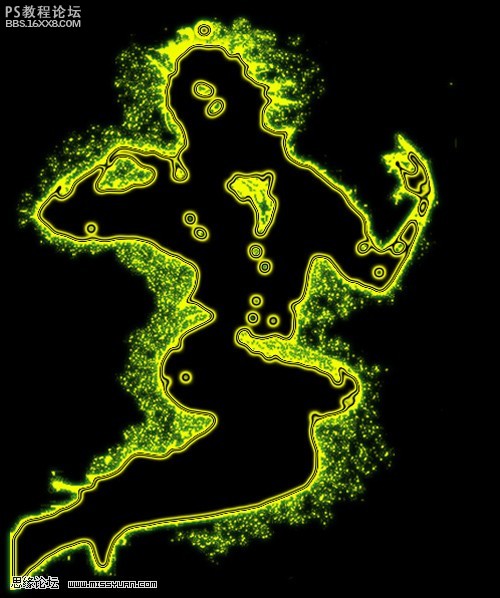
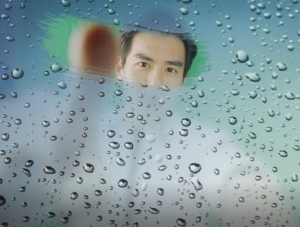
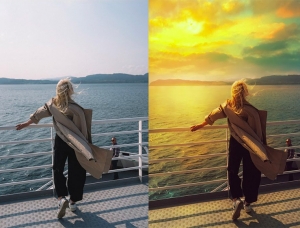
效果:
以下是詳細的photoshop教程步驟:
1.復制背景層,并在背景層下新建圖層1添加黑色
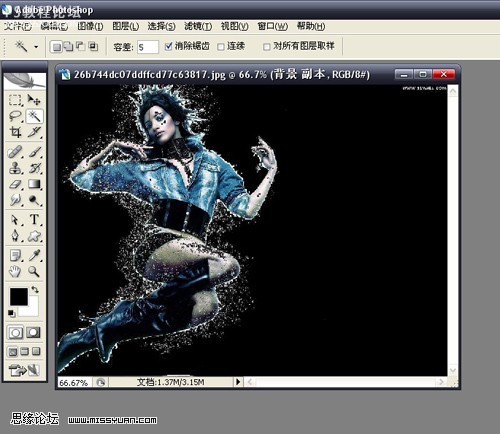
2.到背景副本..使用魔棒工具(容差為5)選擇白色部分,去除得出
3.新建圖層2,選擇背景副本的選區(qū),并添加白色,
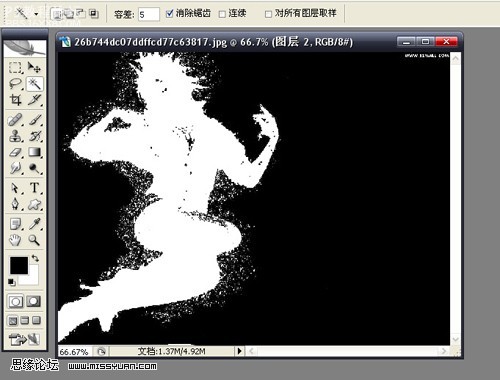
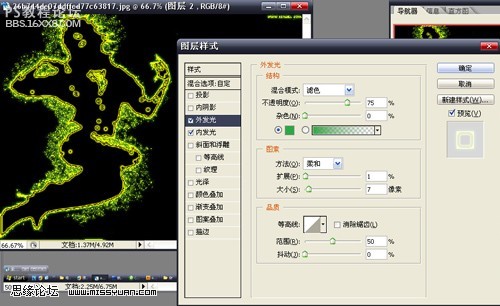
4.圖層2.填充值為0,圖層屬性設置如下
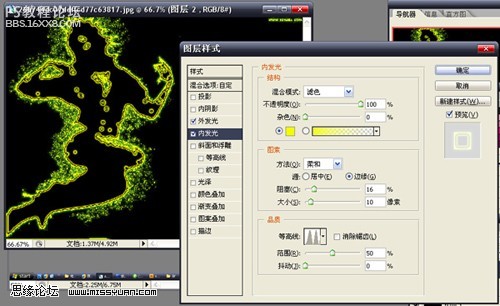
完成
效果:
以下是詳細的photoshop教程步驟:
1.復制背景層,并在背景層下新建圖層1添加黑色
2.到背景副本..使用魔棒工具(容差為5)選擇白色部分,去除得出
3.新建圖層2,選擇背景副本的選區(qū),并添加白色,
4.圖層2.填充值為0,圖層屬性設置如下
完成
學習 · 提示
相關(guān)教程
關(guān)注大神微博加入>>


網(wǎng)友求助,請回答!