ps給石壁上的美女增加好看的黃青色(2)
來源:photoshop聯(lián)盟
作者:Sener
學(xué)習(xí):738人次
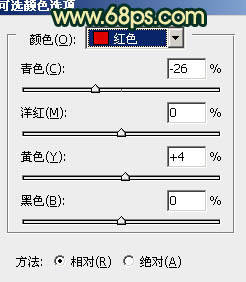
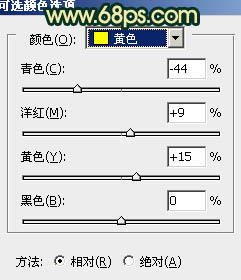
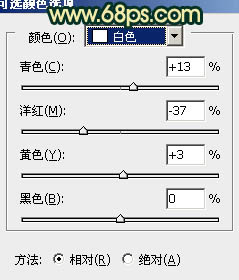
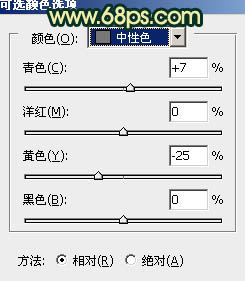
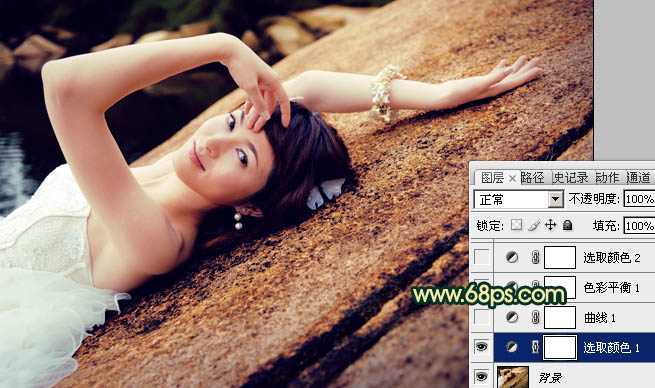
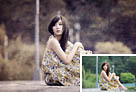
1、打開原圖素材,創(chuàng)建可選顏色調(diào)整圖層,對(duì)紅、黃、白、中性、黑色進(jìn)行調(diào)整,參數(shù)設(shè)置如圖1 - 5,效果如圖6。這一步加強(qiáng)畫面的暖色及暗部的顏色。

學(xué)習(xí) · 提示
相關(guān)教程
關(guān)注大神微博加入>>


網(wǎng)友求助,請(qǐng)回答!